Company News Updates
Contact Us

Learn More, Book a Demo, Connect with Us

Ozone Licensing Guide

Licenses of Ozone for Maya can be acquired directly via customer support channels or by email (support@ozone3d.com) and are distributed as a studio license.

Studios can purchase licenses in bulk and are distributed through the website. Licenses are secured via mac-address of the machine using the Ozone for Maya or Ozone for Unreal plugin.


Welcome to the Ozone Licensing Guide! Here, we’ll walk you through the steps to manage your Ozone license, ensuring you’re up and running quickly and smoothly.
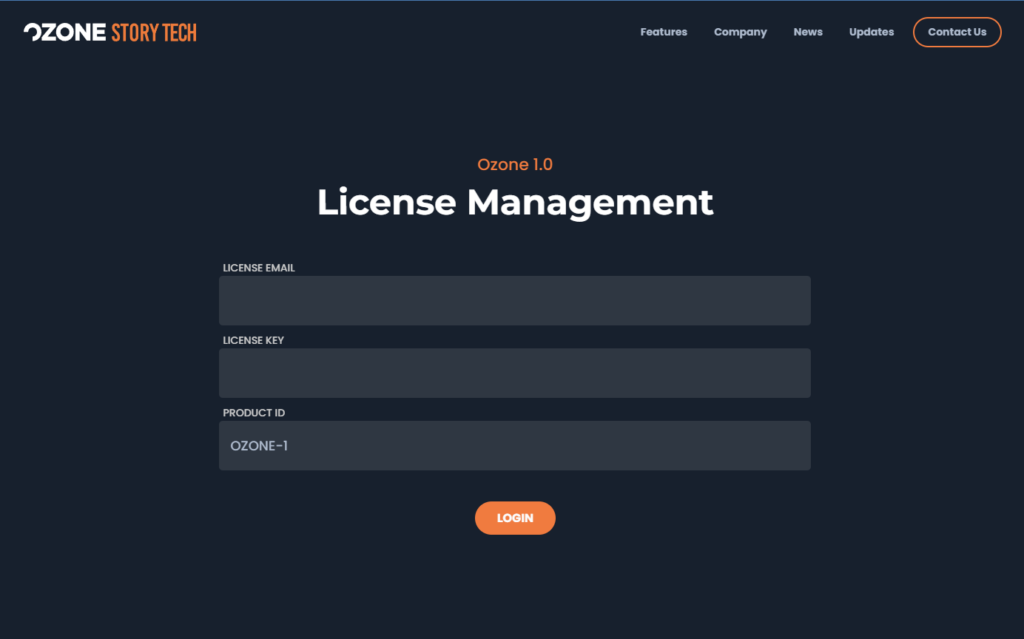
Step 1: Installing Ozone #

Before managing your license, make sure you have installed Ozone on your computer. Once installed, you’ll be ready to manage your license key.

Step 2: Accessing License Management #

To manage your Ozone license, follow these steps:

  1. Open the Ozone Menu: In Ozone, navigate to the menu where you can manage your license.
  2. Access License Management: Select the option that opens a web browser page for license management.

Step 3: Preparing Your Information #

Before logging in, ensure you have the following information ready:

  • Your Email Address: The email address associated with your Ozone account.
  • Your License Key: This is the unique key provided when you purchased Ozone.

Step 4: Managing Your License #

Once you’re logged in:

  1. View Registered Nodes: You’ll see a list of registered nodes. Each node represents a different computer verified with your Ozone license.
  2. Check License Validity: You can return to Maya and run specific commands to verify that your license key is valid. If the key is valid, the system will confirm this.

Step 5: Releasing a Node #

If you need to release a license from a specific machine:

  1. Navigate to License Management: Go to the license management page.
  2. Release Node: Select the node you wish to release. Once released, Ozone will no longer verify the license as valid for that machine. However, some instances may retain the license key value temporarily.

Step 6: Authorizing a New Machine #

To authorize a new machine:

  1. Go to the Authorization Page: Use the slightly different URL provided in the Ozone menu.
  2. Enter License Key: Input your license key and register the new machine.
  3. Verify Registration: Run the command again in Maya, and you should see a confirmation that the machine is now authorized.